
Last updated November 21, 2026
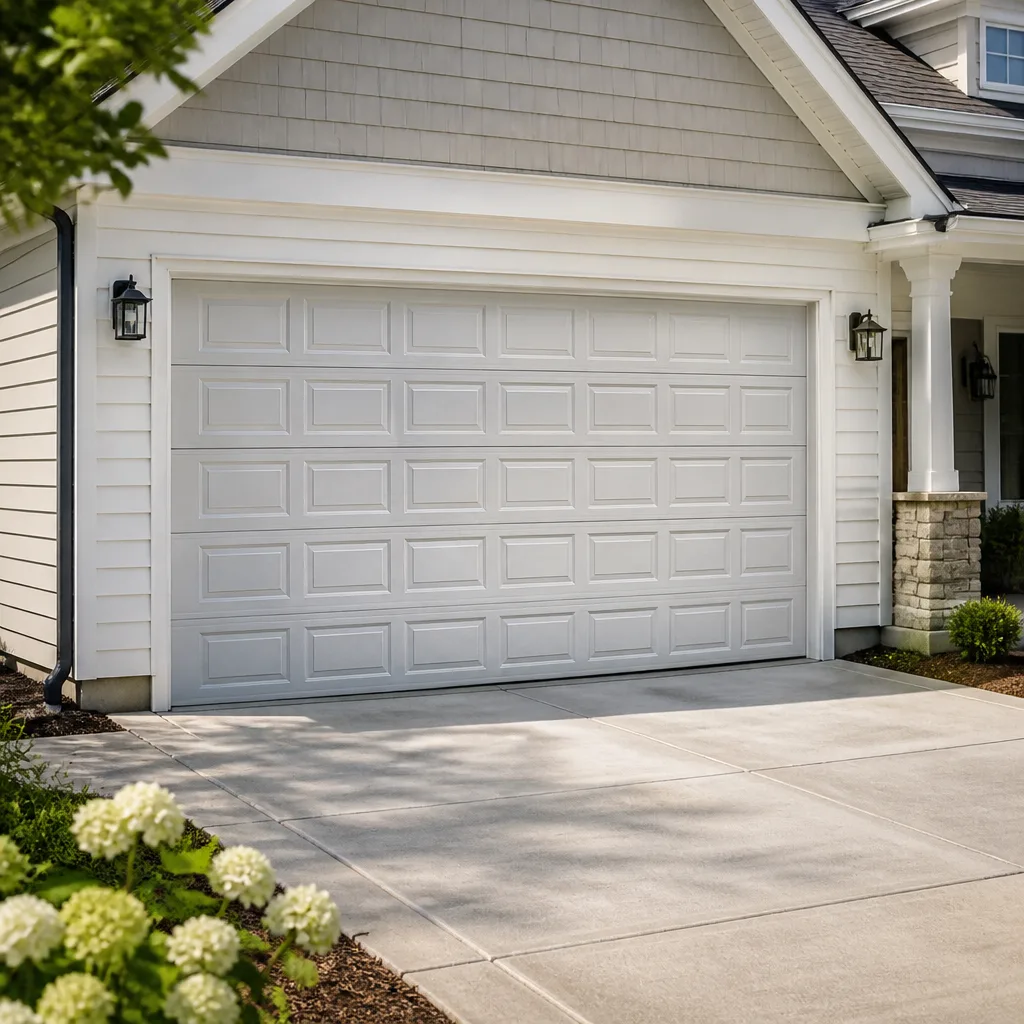 Raised-panel steel
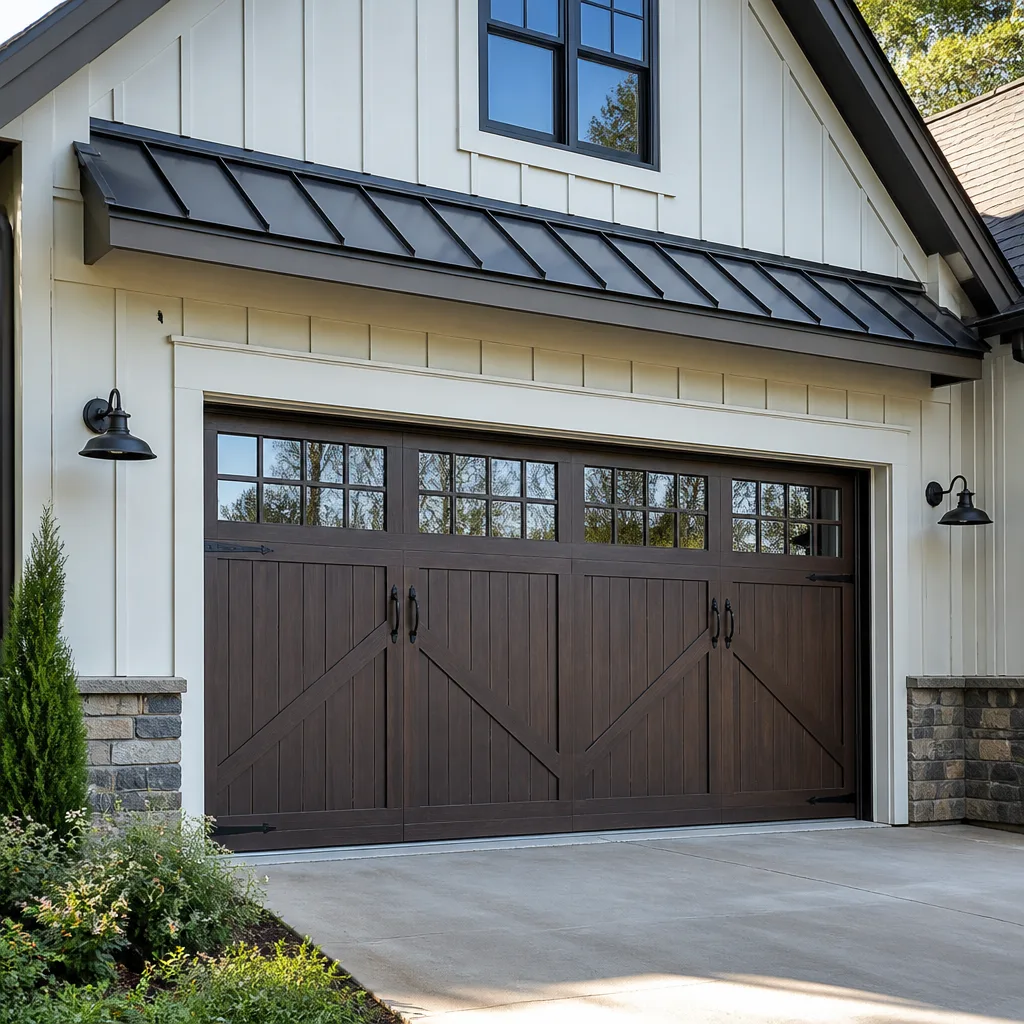 Carriage house
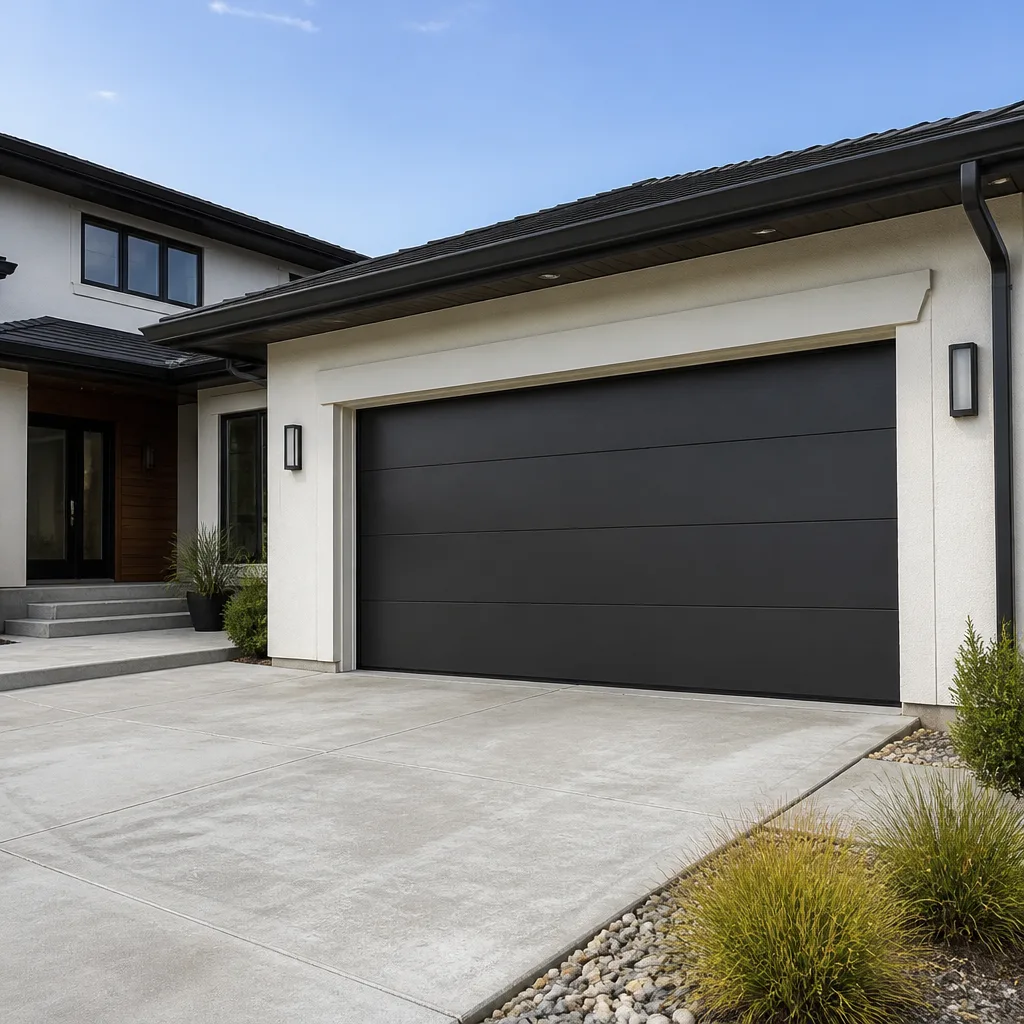 Modern flush
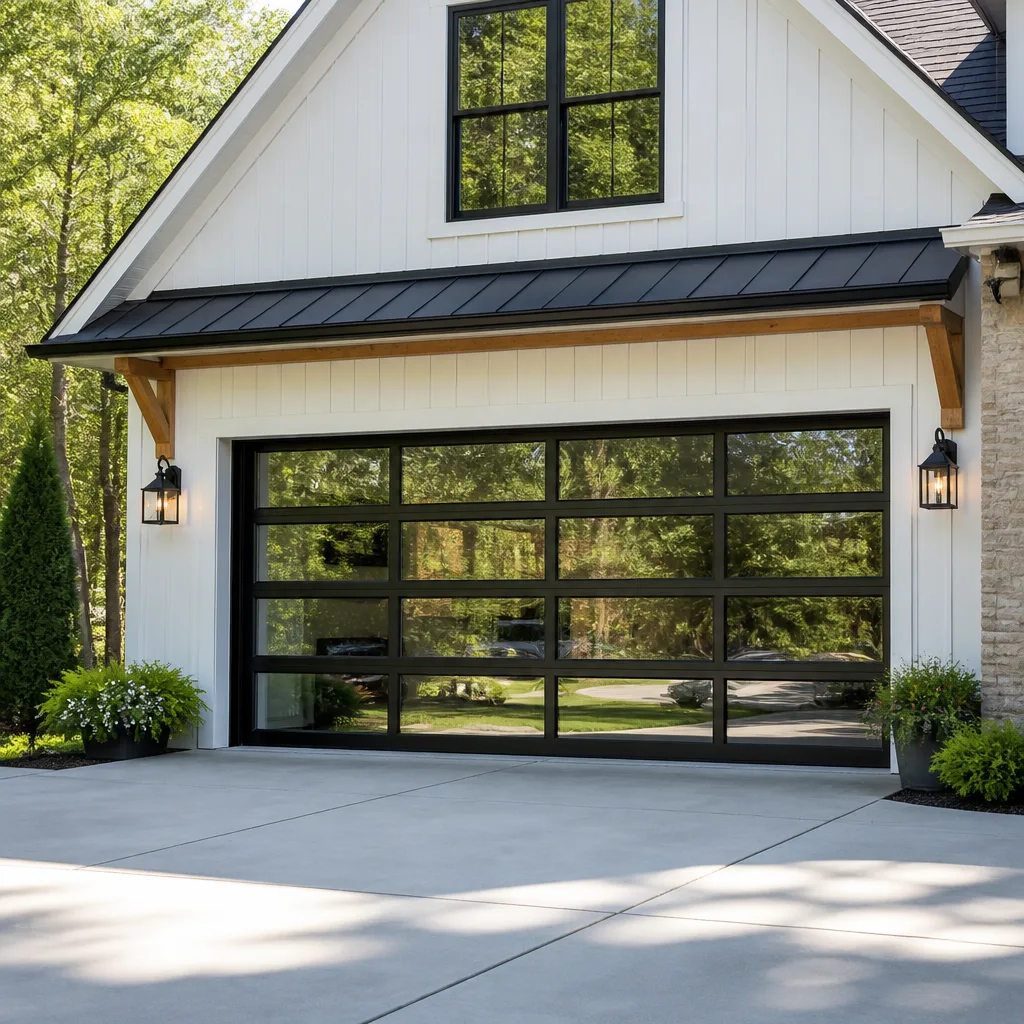 Full-view glass
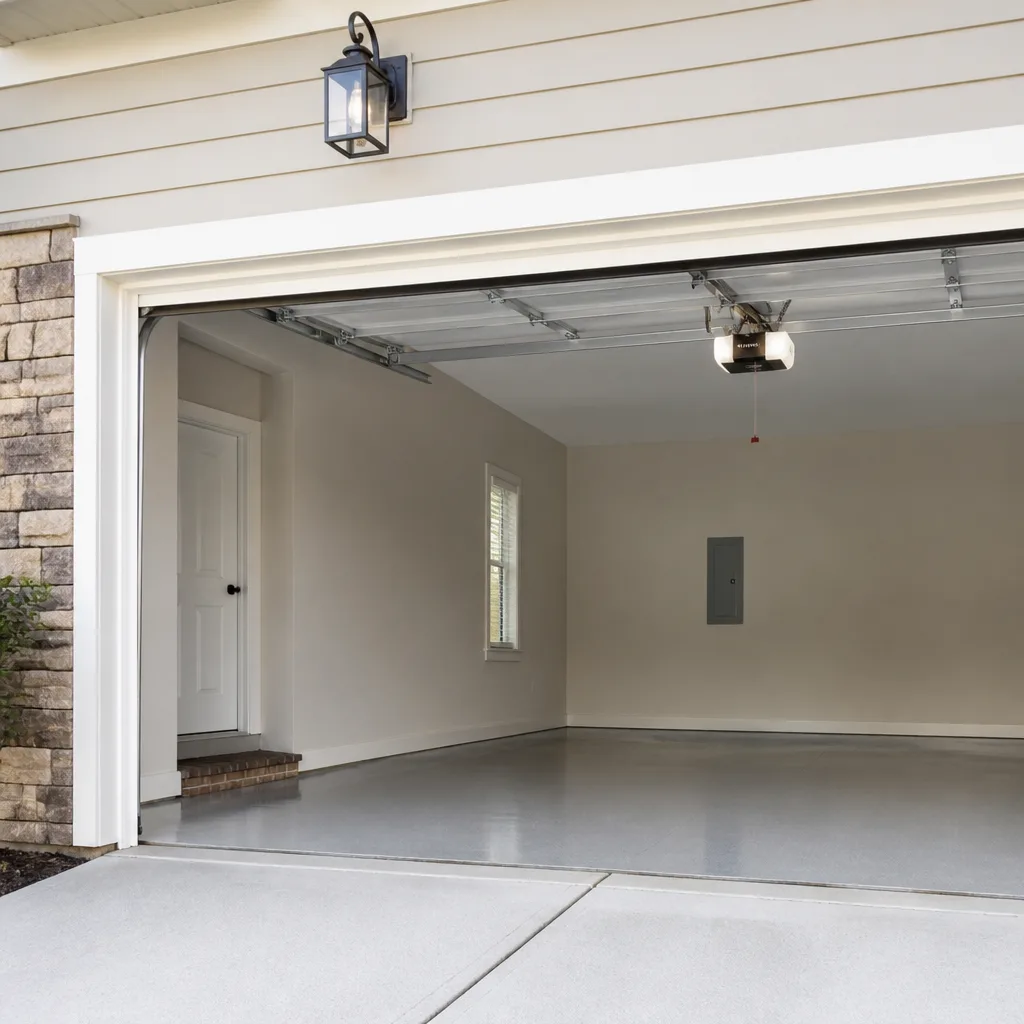 LiftMaster openers
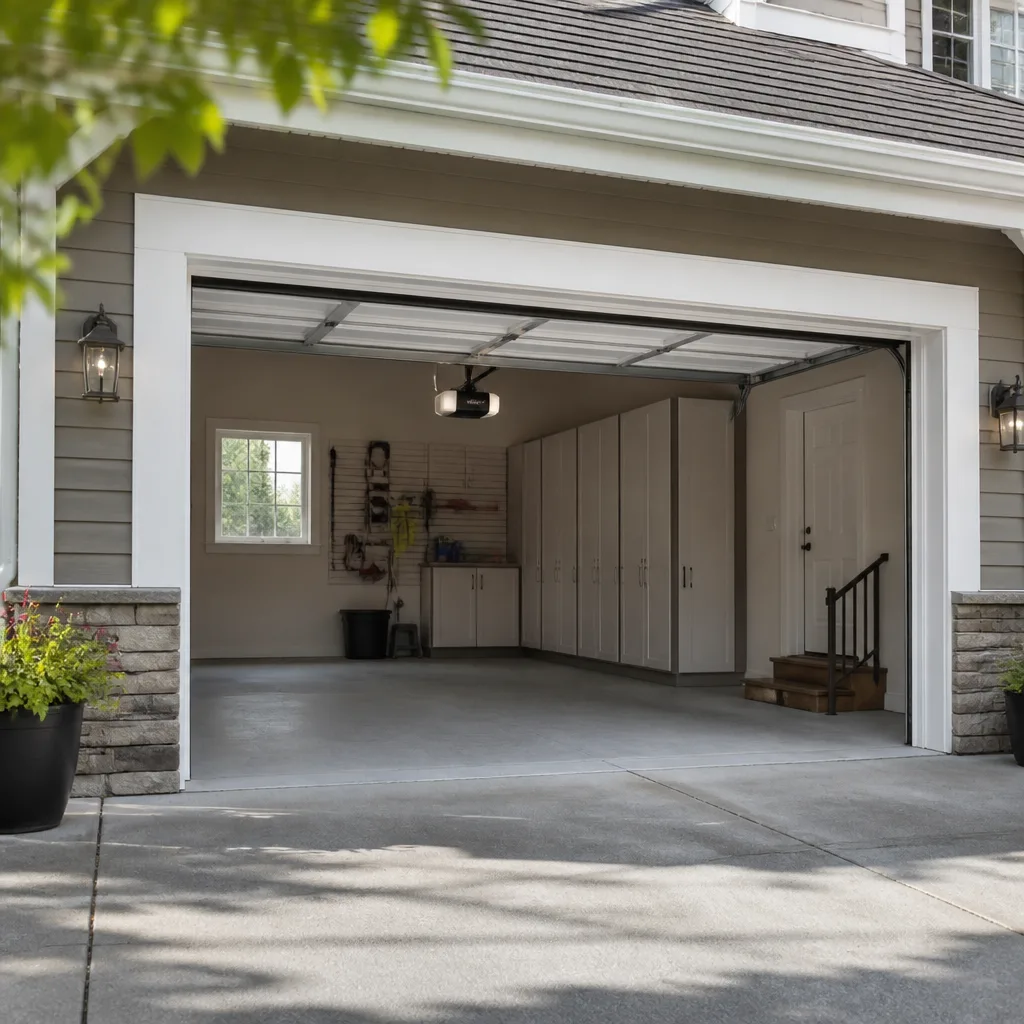 Chamberlain openers
Full 25-point door and opener safety check with every visit - springs, cables, rollers, tracks, and your LiftMaster or Chamberlain opener included
You get a price before we start. It does not change when the pro arrives.
Get your free estimateDIY vs Professional Garage Door: The Eagan Homeowner’s Decision Guide
Most homeowners who get hurt working on a garage door weren’t being reckless. They were being reasonable. They watched a video, bought the part, and assumed the task would be about as hard as the person in the video made it look. The torsion spring is where that assumption breaks, because a loaded spring doesn’t behave like a normal mechanical part – it stores energy in a way that only becomes clear after something goes wrong. Eagan homeowners face a real fork in the road here, and this guide draws the line for you: which jobs you can safely handle yourself, which ones carry consequences you can’t absorb, and how to make that call without wasting money in either direction.
Styles & brands we work with
- Raised-panel steel
- Carriage house
- Modern flush
- Full-view glass
- LiftMaster openers
- Chamberlain openers
Quick Answer
You can safely DIY a garage door’s weather seal, bottom seal, lubrication, hardware tightening, and opener remote or keypad programming. You should not DIY torsion springs, cables, or anything that involves releasing stored tension – those are professional-only work because the failure mode is serious injury. Panel alignment, track straightening, and opener logic or travel-limit problems sit in the middle: possible to understand, hard to do right in a Minnesota climate without the right tools. When in doubt, get a free estimate before you reach for a wrench.
Table of Contents
- What’s Actually Safe to DIY on a Garage Door
- The Torsion Spring Line: Why It’s Not a “Be Careful” Suggestion
- The Real Cost Math: DIY vs Calling a Pro in Eagan
- How Minnesota’s Temperature Swings Change the DIY Equation
- What to Check Before You Call: A Five-Step Diagnostic
- What to Know About Your Specific Brand and Opener
- When DIY Costs More Than It Saves
- Common Mistakes to Avoid
- When to Call a Professional
- Frequently Asked Questions
- The Bottom Line
What’s Actually Safe to DIY on a Garage Door
Most garage door maintenance is benign and doesn’t involve the parts that hurt people. If a job only requires a screwdriver, a socket set, or a can of lubricant, you’re almost certainly on the safe side of the line. Here’s the short list of what we genuinely encourage homeowners to handle:
- Bottom seal replacement. A cracked or torn bottom seal drags across the floor and lets Minnesota slush and cold air inside. Replacing it is a low-tension job that requires no tools beyond a utility knife and a few minutes on a ladder.
- Weather stripping around the frame. The rubber or brush strip on the sides and top of the opening wears out and creates drafts. Pull it out, slide new stripping in, done.
- Opener remote and keypad programming. Whether your opener is a LiftMaster, a Chamberlain, a Genie, or an older Craftsman, pairing a new remote or keypad is usually a matter of pressing the learn button and following the sequence. The manual is your friend here.
- Lubrication. Hinges, rollers, and the metal pivot points on the door itself benefit from a garage-door-specific lubricant a couple of times a year. This lowers noise and slows wear. It’s not glamorous work, and it’s some of the best money you’ll ever save.
- Visual inspection. Walking the door once a month to look for frayed cables, worn rollers, or a loose hinge plate is free and catches problems while they’re still cheap.
If you’re an Eagan homeowner who just wants to stop a draft or quiet a squeak, none of this needs a professional. Save the call for jobs where the consequence of getting it wrong is more than a minor annoyance.
The Torsion Spring Line: Why It’s Not a “Be Careful” Suggestion
Torsion spring replacement is the most-searched garage door DIY task online, and it’s also the number-one cause of serious garage door injuries. The reason isn’t that homeowners are careless. It’s that the physics of a coiled spring under tension behaves in a way that a YouTube thumbnail can’t communicate. When a spring is wound onto its torsion bar, it’s holding a load equivalent to the weight of the entire door in a coil of steel the diameter of a broom handle. If the winding bars slip, if you use the wrong tool, if the set screw lets go while your hands are in the middle of the coil – the energy releases instantly.
There is no partial failure mode. You either get it right, or the spring unwinds with your hands where the spring used to be. That’s why this is a hard professional-only line, not a “be careful” suggestion. Our technicians treat garage door spring repair as a dedicated specialty because doing it safely requires more than a wrench – it requires knowing which bars to hold, which side to release first, and how to read the coil as it unloads.
The other thing worth knowing about springs is that they come in matched pairs on almost every two-spring door. When one breaks, the other has usually absorbed the same number of cycles and is on borrowed time. Replacing one spring on a matched pair is a false economy that ends with a second failure and a second service call. We replace them as a pair when that’s the right call, and we explain why before we do it.
The Real Cost Math: DIY vs Calling a Pro in Eagan
The honest math on DIY vs professional garage door work in Eagan depends on which job you’re comparing. For a weather seal, DIY wins on cost outright. For a spring or opener logic issue, DIY often costs more than it saves once you account for tools, parts, and the chance of a follow-up call.
Here’s how the numbers usually shake out:
| Job | DIY Path | Typical Professional Estimate |
|---|---|---|
| Bottom seal or weather stripping | $15-$40 in parts | Not usually worth a call |
| Lubrication and hardware tightening | $10-$20 in lubricant | Often bundled with a repair visit |
| Opener logic or travel-limit reset | $0 with a manual, but easily misdiagnosed | Usually a short diagnostic plus part |
| Single torsion spring replacement | $50-$100 for a spring plus $40-$80 for winding bars, plus injury risk | Quoted in writing before any work starts |
| Matched pair of springs | Roughly double the single-spring parts cost, plus the same risk | Quoted per job, pair replaces pair |
| Broken cable | Not a homeowner job – real injury risk | Quoted per job |
Two columns of that table are missing from the DIY path: your time, and what happens if the DIY attempt fails partway and requires professional correction. A homeowner who buys a spring, snaps a winding bar, and then calls us is now paying for the spring, the bars, and the repair – which means they’ve usually spent more than the original estimate would have been. If your door is currently down, that added downtime is the bigger loss.
The same math applies to openers. Buying a replacement opener and attempting the install on your own is possible, but if the bracket alignment, the travel limits, or the safety-reversing sensor placement isn’t right, you’re back where you started with a door that won’t close and a receipt for a part. The free estimate is the cheaper starting point. Then the written estimate is the price – if the technician finds something the phone conversation didn’t cover, they tell you before any work starts, and you approve or you don’t.
How Minnesota’s Temperature Swings Change the DIY Equation
Garage doors move in ways that non-Minnesotans don’t fully appreciate. From a summer high to a January low, an Eagan garage door’s steel components expand and contract by amounts that matter. Those temperature swings change what a “simple” DIY job actually involves.
Panel alignment. Metal tracks contract in cold weather and the door panels move with them. A panel that runs cleanly in July can drag on a cold February morning not because the door has failed, but because the tolerances have shifted. Aligning a panel is a matter of loosening brackets, nudging the panel, and retightening – but doing it correctly in subzero weather without snapping a bracket or cracking a panel requires feeling the tension in the steel. That’s experience, not a how-to.
Cable tensioning. Cables on a garage door are under constant load, and the tension changes with temperature. Adjusting a cable tension that reads “just right” in a warm garage can be dangerously wrong when the door cools. Cables are also the second-most-dangerous component on a garage door after the springs, because they can cut through skin when they fail. This is not a job we recommend homeowners attempt at any temperature.
Seal and weather stripping. This is the one job Minnesota weather actually makes easier for a homeowner. The seal is meant to flex with the seasons. If it’s cracked in January, the replacement seal you install will still be the right seal in July. So DIY this without hesitation.
Lubrication. Lubrication in Eagan should be done more often than in a milder climate, because the temperature swings stress the lubrication film. Cold weather stiffens grease and warm weather can bake it off. Twice a year, ideally at the change of seasons, is a reasonable rhythm.
What to Check Before You Call: A Five-Step Diagnostic
A little diagnostic work before you call saves you money in two ways: it helps the technician arrive prepared, and it avoids the scope creep that happens when the phone description is vague. Here’s the sequence we recommend for any homeowner before they dial.
- Test the remote and wall button separately. If the remote works but the wall button doesn’t, or vice versa, the problem is likely in the wiring or the wall control, not the opener. If neither works, the issue is at the opener itself. Note which one failed – it tells the technician where to start.
- Watch the door while it moves, with the door disconnected from the opener (pull the emergency release cord while the door is fully closed). Lift the door by hand. It should move smoothly and stay in place when you let go about halfway up. If it slams down, the springs are the problem. If it feels stiff or binds, the problem is in the tracks or rollers.
- Check the safety-reversing sensors at the bottom of the tracks. Are they lit? Are they pointed at each other? A blinking sensor is the single most common cause of “my door won’t close.” This is a two-minute fix and doesn’t need a service call.
- Look for daylight around the door when it’s closed. A gap along one side or the bottom tells you the door is out of level or the seal is worn. Take a photo from inside the garage with the lights off – it’s the fastest way to see the gap.
- Listen, don’t just look. A grinding sound, a squeal, or a rhythmic thump means something is either loose or worn. Note when in the cycle it happens – at the start, at the end, or throughout. The timing is diagnostic.
Write down what you find before you call. It’s not that the technician can’t diagnose it themselves – it’s that a clear description on the phone shortens the visit, and short visits cost less. For the deeper diagnosis once a technician is on site, that’s what garage door repair is for.
What to Know About Your Specific Brand and Opener
One of the reasons homeowners end up DIYing jobs they shouldn’t is that they’ve called a company, described the door or opener, and been told “we don’t work on that.” That’s a real problem in Eagan, because garage doors and openers installed here over the last thirty years come from a wide spread of manufacturers. Getting the brand right on the phone changes whether the job is straightforward or becomes a scavenger hunt.
The door brands you’re most likely to encounter in an Eagan garage are Clopay, Amarr, Wayne Dalton, and Raynor. Each one uses slightly different hardware in its tracks, hinges, and panel assemblies, which matters when the job is a repair rather than a full replacement. Knowing that a Clopay panel hinge releases differently than a Wayne Dalton one isn’t trivia – it’s the difference between ten minutes and an hour on the same job.
On the opener side, the usual suspects are LiftMaster, Chamberlain, Genie, and Craftsman, with older LiftMaster and Chamberlain units being especially common. These openers all sit on the same basic architecture – a motor, a rail, a trolley, a logic board – but the diagnostics are different. A Genie opener with a stripped gear makes a different sound than a LiftMaster with a failing logic board. Chamberlain units have their own quirks around travel limits. When we quote garage door opener repair, we start from the brand and model, not from a guess.
If you don’t know your door or opener brand, look for a sticker on the inside of the opener housing or on the bottom panel of the door. Snap a photo. That single photo is often the difference between a straightforward repair and a return visit.
When DIY Costs More Than It Saves
The classic DIY math assumes the job succeeds. The real math includes the failure case. Here are the patterns we see where a homeowner’s attempt costs more than calling first would have:
- The wrong part bought from a big-box store. Garage door springs are not one-size-fits-all. The spring needs to match the door’s weight, wire size, and inside diameter, and the winding direction has to match the side. Buying the wrong spring and returning it is a week you didn’t have the door working.
- The opener installed but not calibrated. A new opener that lands correctly but has its travel limits set wrong will fight the door, stress the bracket, and shorten the opener’s life. What looks like a “minor adjustment” is a real diagnostic skill.
- The track “straightened” with a hammer. Garage door tracks are thin-gauge steel with a specific curve at the transition. Bending one back with force usually introduces a new kink that’s worse than the original dent. A track replacement is more expensive than the original repair would have been.
- The panel alignment attempted in the cold. As covered above, panels under cold tension are easy to crack and hard to realign once cracked. A $30 fix becomes a several-hundred-dollar panel replacement.
- The safety sensor “fixed” by taping it up. Taping a safety sensor disables it. That’s a serious safety failure that a technician would have caught and solved properly in one visit.
- The failed spring “temporarily held” with a clamp. There is no temporary fix for a broken torsion spring that’s safe. A clamp on a spring under load is a projectile waiting for a person to be under it.
None of these are things homeowners do on purpose. They’re things that happen when a job that looked easy in a video turns out to require a tool or a feel or a part that wasn’t in the video. When the cost of the wrong part plus the cost of the follow-up call is higher than the estimate, the estimate was always the cheaper way.
Common Mistakes to Avoid
- Treating every YouTube garage door video as a how-to. Plenty of the videos are useful for maintenance. The spring replacement videos are useful for understanding the job, not for doing it. The distinction worth keeping in mind: if the video’s creator had to buy a special tool to make the demo work, that’s a sign of a professional-only job.
- Ignoring the torsion spring warning signs. A door that feels heavier than usual, a visible gap in the coil, or a loud bang from the garage when nobody was in it are all signs the spring is compromised. A failed spring isn’t a “wait until spring” situation – pun intended – because the door is now unsafe to use manually.
- Lubricating the tracks. Tracks should be wiped clean and left dry. Lubricant on a track collects dust and grit, which makes the rollers grind. Lubricate the hinges, rollers, and pivot points, not the tracks.
- Adjusting the opener force setting to compensate for a sticky door. That crank on the opener housing is there for a reason, but turning it up to overcome a door that’s binding is like driving with the parking brake on. The door is telling you it needs attention – the opener isn’t.
- Ignoring the safety reverse test. Every homeowner should know how to test the door’s reverse feature: put a two-by-four flat on the floor under the door, close the door, and confirm it reverses on contact. If it doesn’t, that’s a call. This test takes ten seconds and it’s an annual habit worth building.
- “Just one more YouTube video” after the first attempt fails. The point where a homeowner stops and calls is different for everyone, but the honest answer is: the first failed attempt is the signal. A second attempt on the same spring or cable is where the injury risk concentrates.
- Calling a general handyman for spring work. Garage door springs are a specialty, and a general handyman may or may not have the right bars, the right spring, and the experience with that specific door weight. It’s the one job worth calling a specialist for. Our technicians have up to 14 years of experience, and the spring work is a dedicated part of what we do.
When to Call a Professional
Call a professional any time the job involves a spring, a cable, track replacement, or a full opener install – those are the jobs where the consequences of getting it wrong are injury or a much larger repair. Call when your garage door makes a loud bang and stops opening, when a cable is visibly frayed or hanging loose, or when the door goes up crooked. Call when the safety reverse test fails. Call when you’ve tried the DIY diagnostic and can’t pin down what’s wrong, because a professional diagnostic is faster than a second attempt. And call before you buy the part – the estimate is free, and it tells you whether the part you’re about to buy is even the right one for your door.
Eagan Garage Door Repair Pros offers free estimates in Eagan – call (877) 492-2497. We answer 24/7, and fast dispatch runs from 7am to 7pm, Sunday through Friday. Emergency response is real here; a broken spring with a car trapped inside is a genuine emergency and we treat it that way. If you’re not sure whether your situation qualifies, call and describe it – we’ll tell you honestly. Our technicians work on LiftMaster, Chamberlain, Genie, Clopay, Amarr, Wayne Dalton, Craftsman, and Raynor systems, so you won’t be told “we don’t work on that.”
Frequently Asked Questions
We strongly advise against it. Torsion springs hold the full weight of the door in stored energy, and the failure mode when a winding bar slips or a set screw releases is serious injury to the hands and arms. This is the one garage door job where the professional line is absolute, not a recommendation. Our garage door spring repair is a dedicated specialty precisely because of that risk. Call (877) 492-2497 for a free estimate – we’ll replace the spring safely and quote the price before any work starts.
Bottom seal replacement, weather stripping, lubrication, remote and keypad programming, and the safety-reverse test are all safe DIY jobs. Troubleshooting sensors and resetting opener travel limits are also doable with the owner’s manual. Anything involving springs, cables, or track replacement is professional work.
It varies by job and by the part that’s needed. We don’t publish a fixed price because the correct price depends on what’s actually on your door. Every estimate we give is free, written, and quoted before any work starts – the written estimate is the price, unless you approve a change once the technician is on site. Call (877) 492-2497 for an exact quote.
It depends on where the problem is. A humming opener with no movement usually means a stripped gear, a broken coupler, or a failed capacitor – all of which are inside the motor housing and require professional diagnosis. Before calling, check that the manual release hasn’t been pulled by accident and that the door isn’t locked from inside. If neither explains it, that’s a call. We service LiftMaster, Chamberlain, Genie, and Craftsman openers, so we’ll start from the brand and model rather than a guess. Call (877) 492-2497 for an exact quote – estimates are free.
Not without your approval. We quote per job, and the written estimate is the price. If the technician finds something the phone conversation didn’t cover – a second spring that’s about to fail, a track that’s bent – they’ll explain what’s needed and quote the change before any additional work begins. You approve or you don’t. That rule applies to every job we take on, including the ones that start as a garage door repair and grow into something bigger.
Most likely, yes. We service doors from Clopay, Amarr, Wayne Dalton, and Raynor, and openers from LiftMaster, Chamberlain, Genie, and Craftsman. If you’re not sure what brand you have, look for a sticker on the inside of the opener housing or on the bottom panel of the door and snap a photo. Tell us the brand when you call and we’ll confirm. Call (877) 492-2497 for an exact quote.
The Bottom Line
The DIY vs professional garage door decision isn’t about how handy you are. It’s about which jobs have consequences you can absorb. A bottom seal that goes wrong can be redone on a Saturday afternoon. A spring that goes wrong can put your hands in the emergency room. The middle ground – opener logic, panel alignment, sensor troubleshooting – is worth understanding, and worth calling on when the diagnosis goes past the obvious. Before you buy a part or take a door apart, get the free estimate. It’s the cheapest step in the whole process, and the most likely to save you money. One call, full fix.
If you’re ready to stop guessing, call (877) 492-2497. We answer 24/7. Fast dispatch from 7am to 7pm, Sunday through Friday. Free estimates in Eagan, and a written price before any work starts. If your door is down right now and you need to know whether it’s a fixable problem or a job for a professional, start with Eagan Garage Door Repair Pros – we’ll help you make the call.
Written by the team at Eagan Garage Door Repair Pros.
See the difference
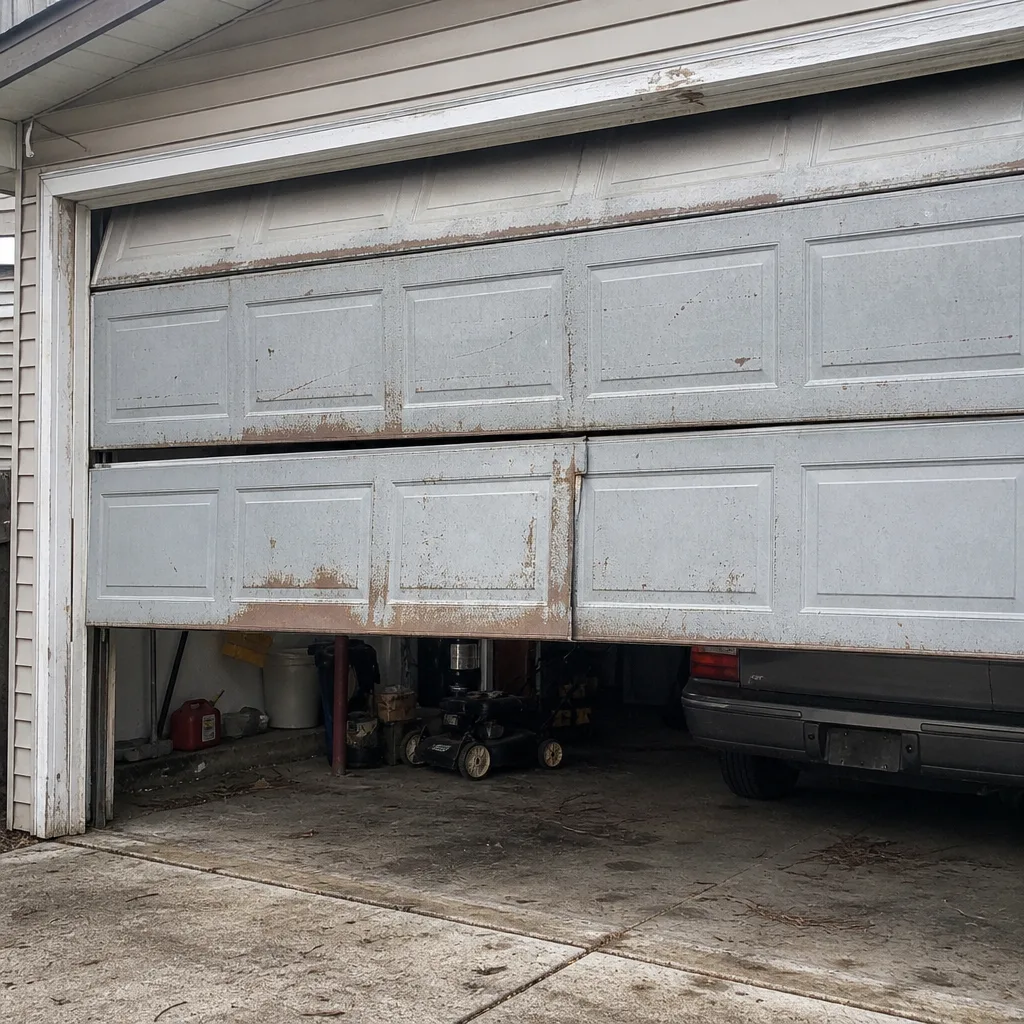 Before
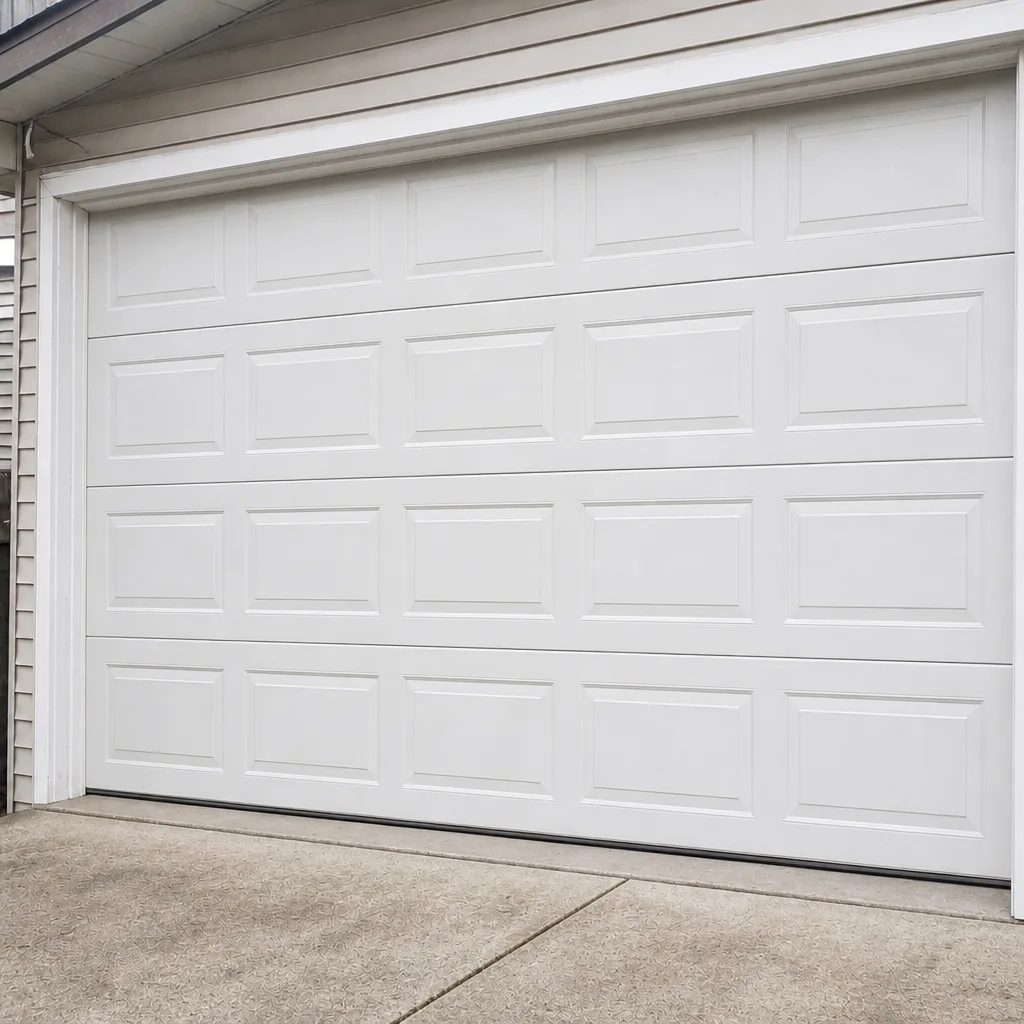 After
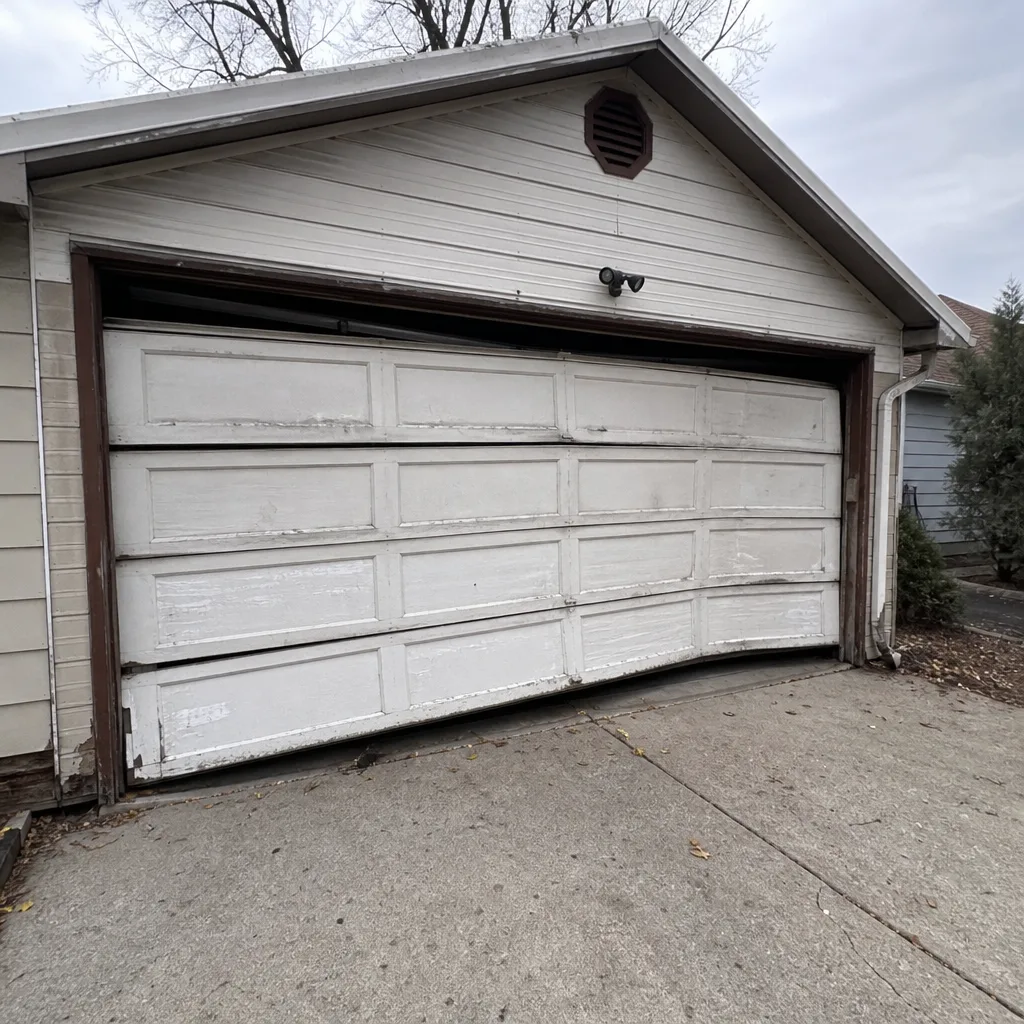 Before
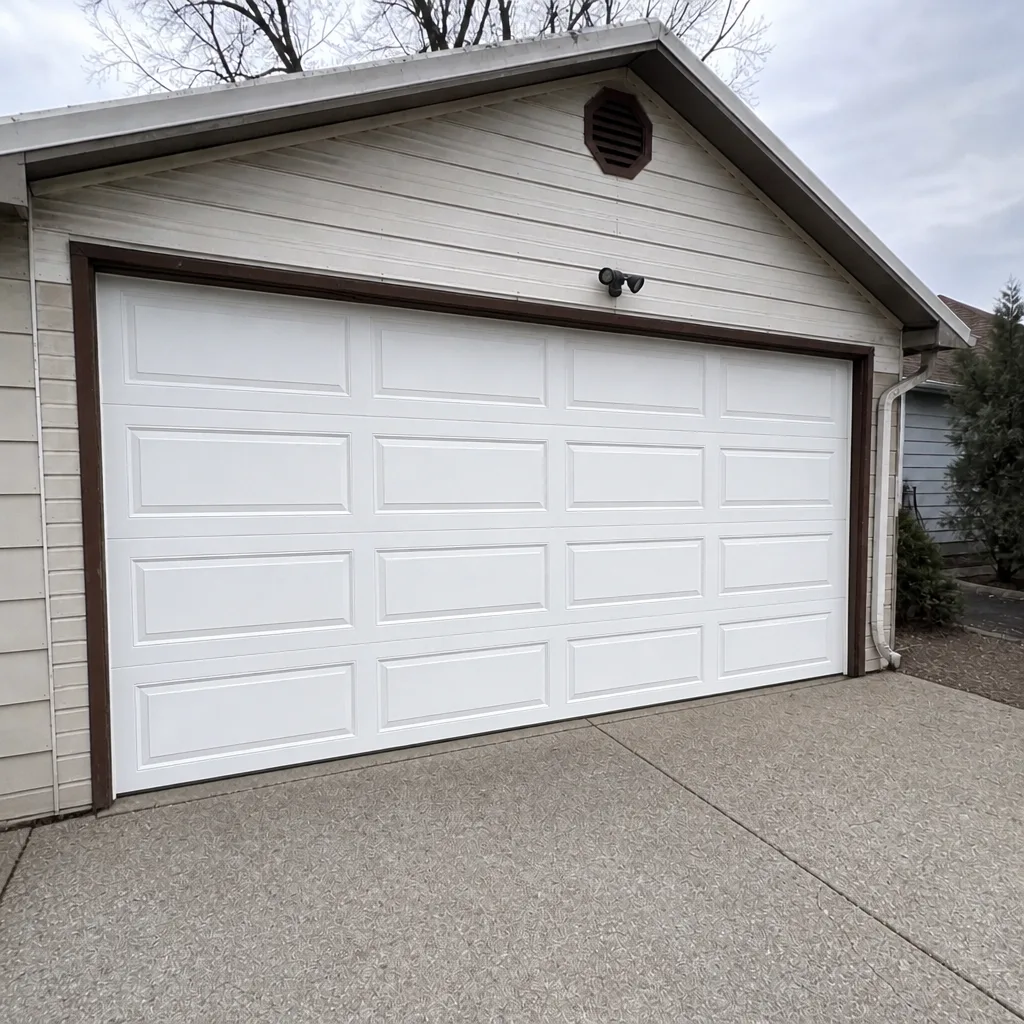 After
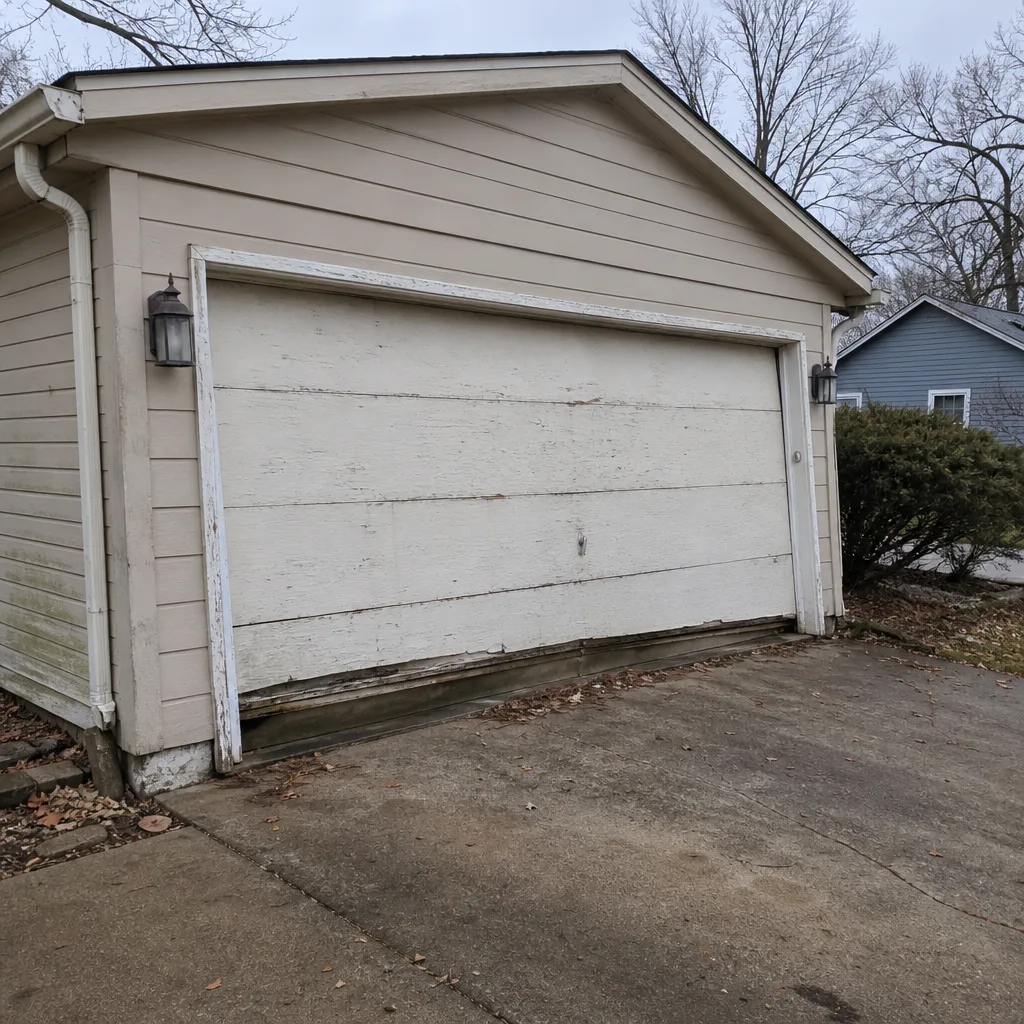 Before
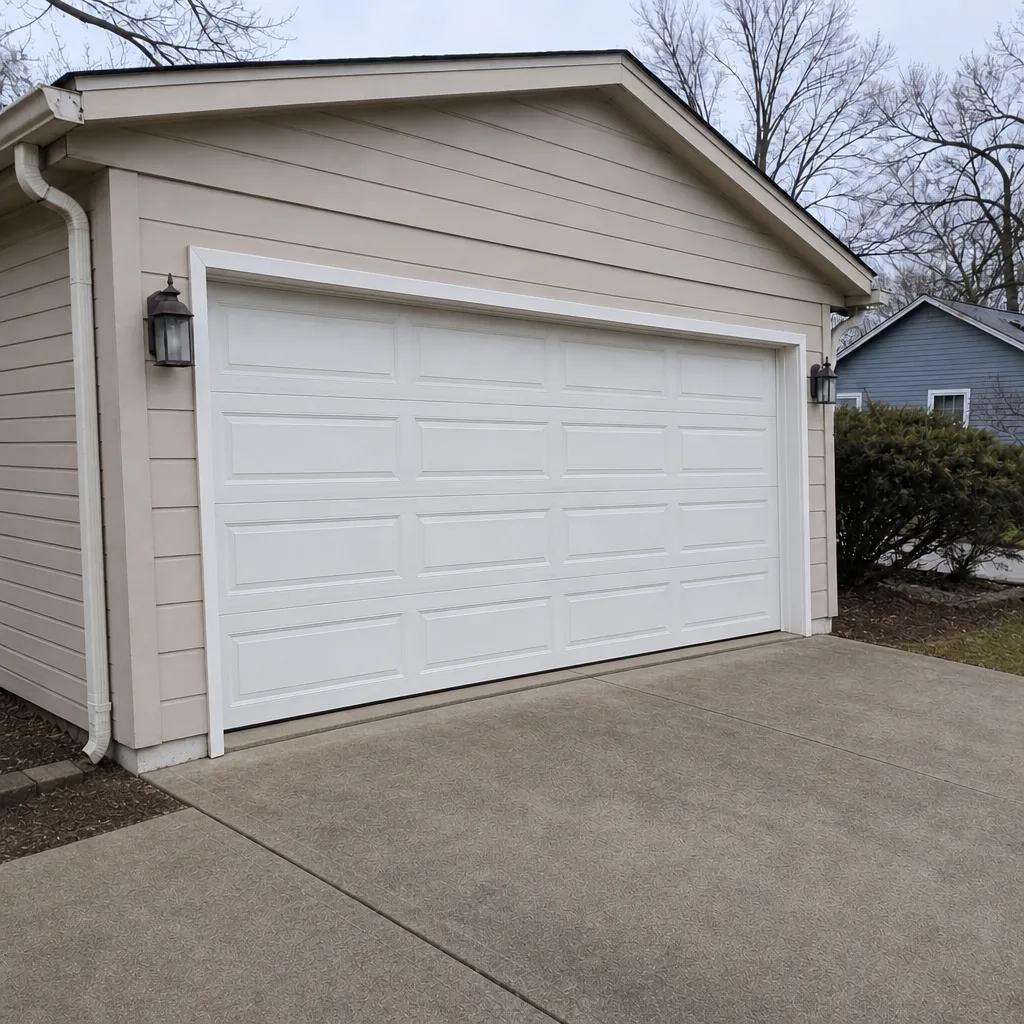 After